
Laser welding components are sensitive to dust, moisture, and heat. On the same production line, two machines with different maintenance histories can produce noticeably different welds. Most “suddenly bad” welding is not a machine failure; it is deferred maintenance. A simple routine organized by daily, weekly, and monthly tasks keeps the machine predictable.
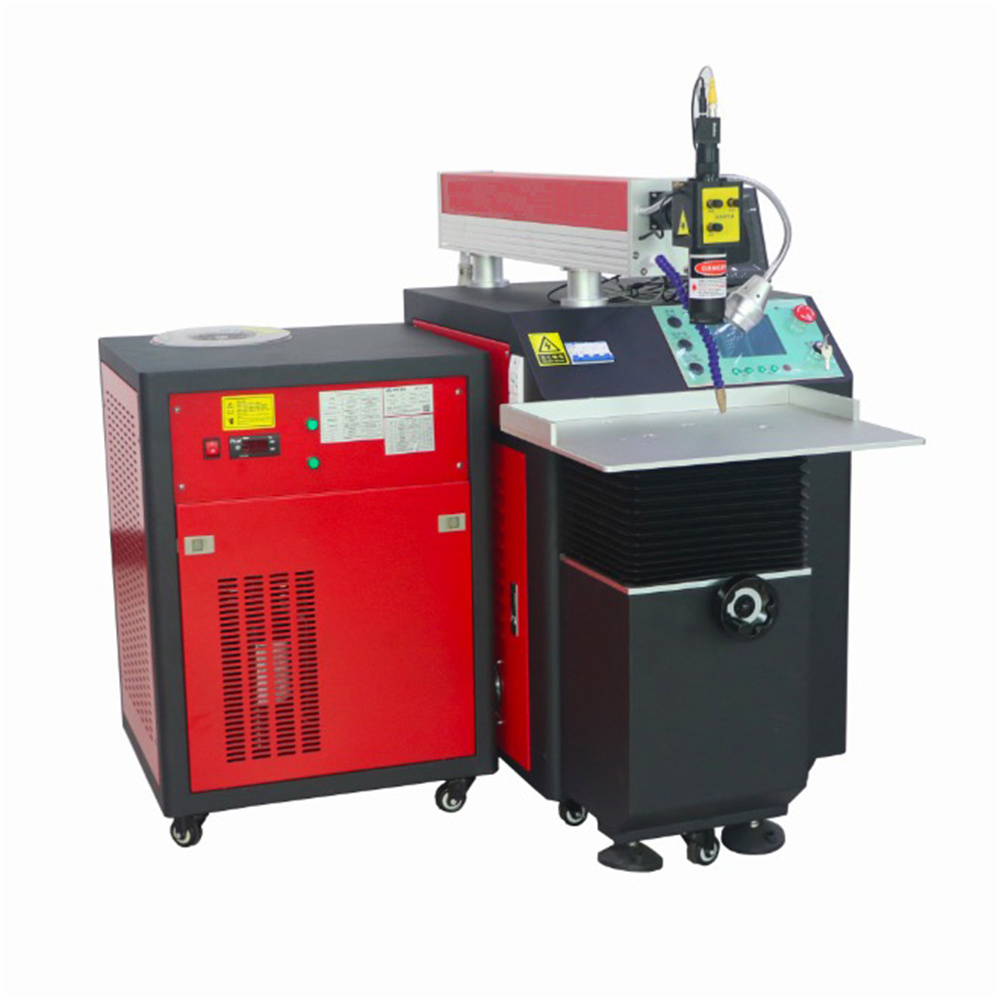
Check these before the first weld each day
- Verify the protective window and shielding gas settings, including pressure and flow.
- Watch cooling system alarms and confirm temperature, flow, or air circulation.
- Inspect the beam entry, output lens, and wire feeder if installed.
- Clear metal dust from the work area and keep ground clamps and fixtures clean.
Weekly and monthly deep cleaning
- Clean lenses with the proper tools and note cleaning dates or visible damage.
- Check fiber connectors, collimating and focusing lenses, and protective windows.
- Clean radiators, fans, and filters so high-temperature protection does not interrupt long shifts.
- Run test samples to confirm focus position and saved welding parameters, then recalibrate if needed.
Quick troubleshooting for common issues
| Symptom | Likely cause | Response |
|---|---|---|
| Heavy spatter | Dirty protective window, low shielding gas, or parameters set too hot | Clean optics and check gas flow before adjusting power and speed |
| Unstable output | Cooling fault, contaminated beam path, or unstable power supply | Review temperature alarms and optics, then contact support with records |
| Dark or undercut seams | Focus drift, wrong standoff, or oily material surface | Recheck focus and clean the workpieces before a trial weld |
Maintenance does not need hours of downtime; it needs a regular rhythm. Keep a simple log for cleaning, replacements, and issues so your team can hand over work cleanly and give support teams the facts they need.